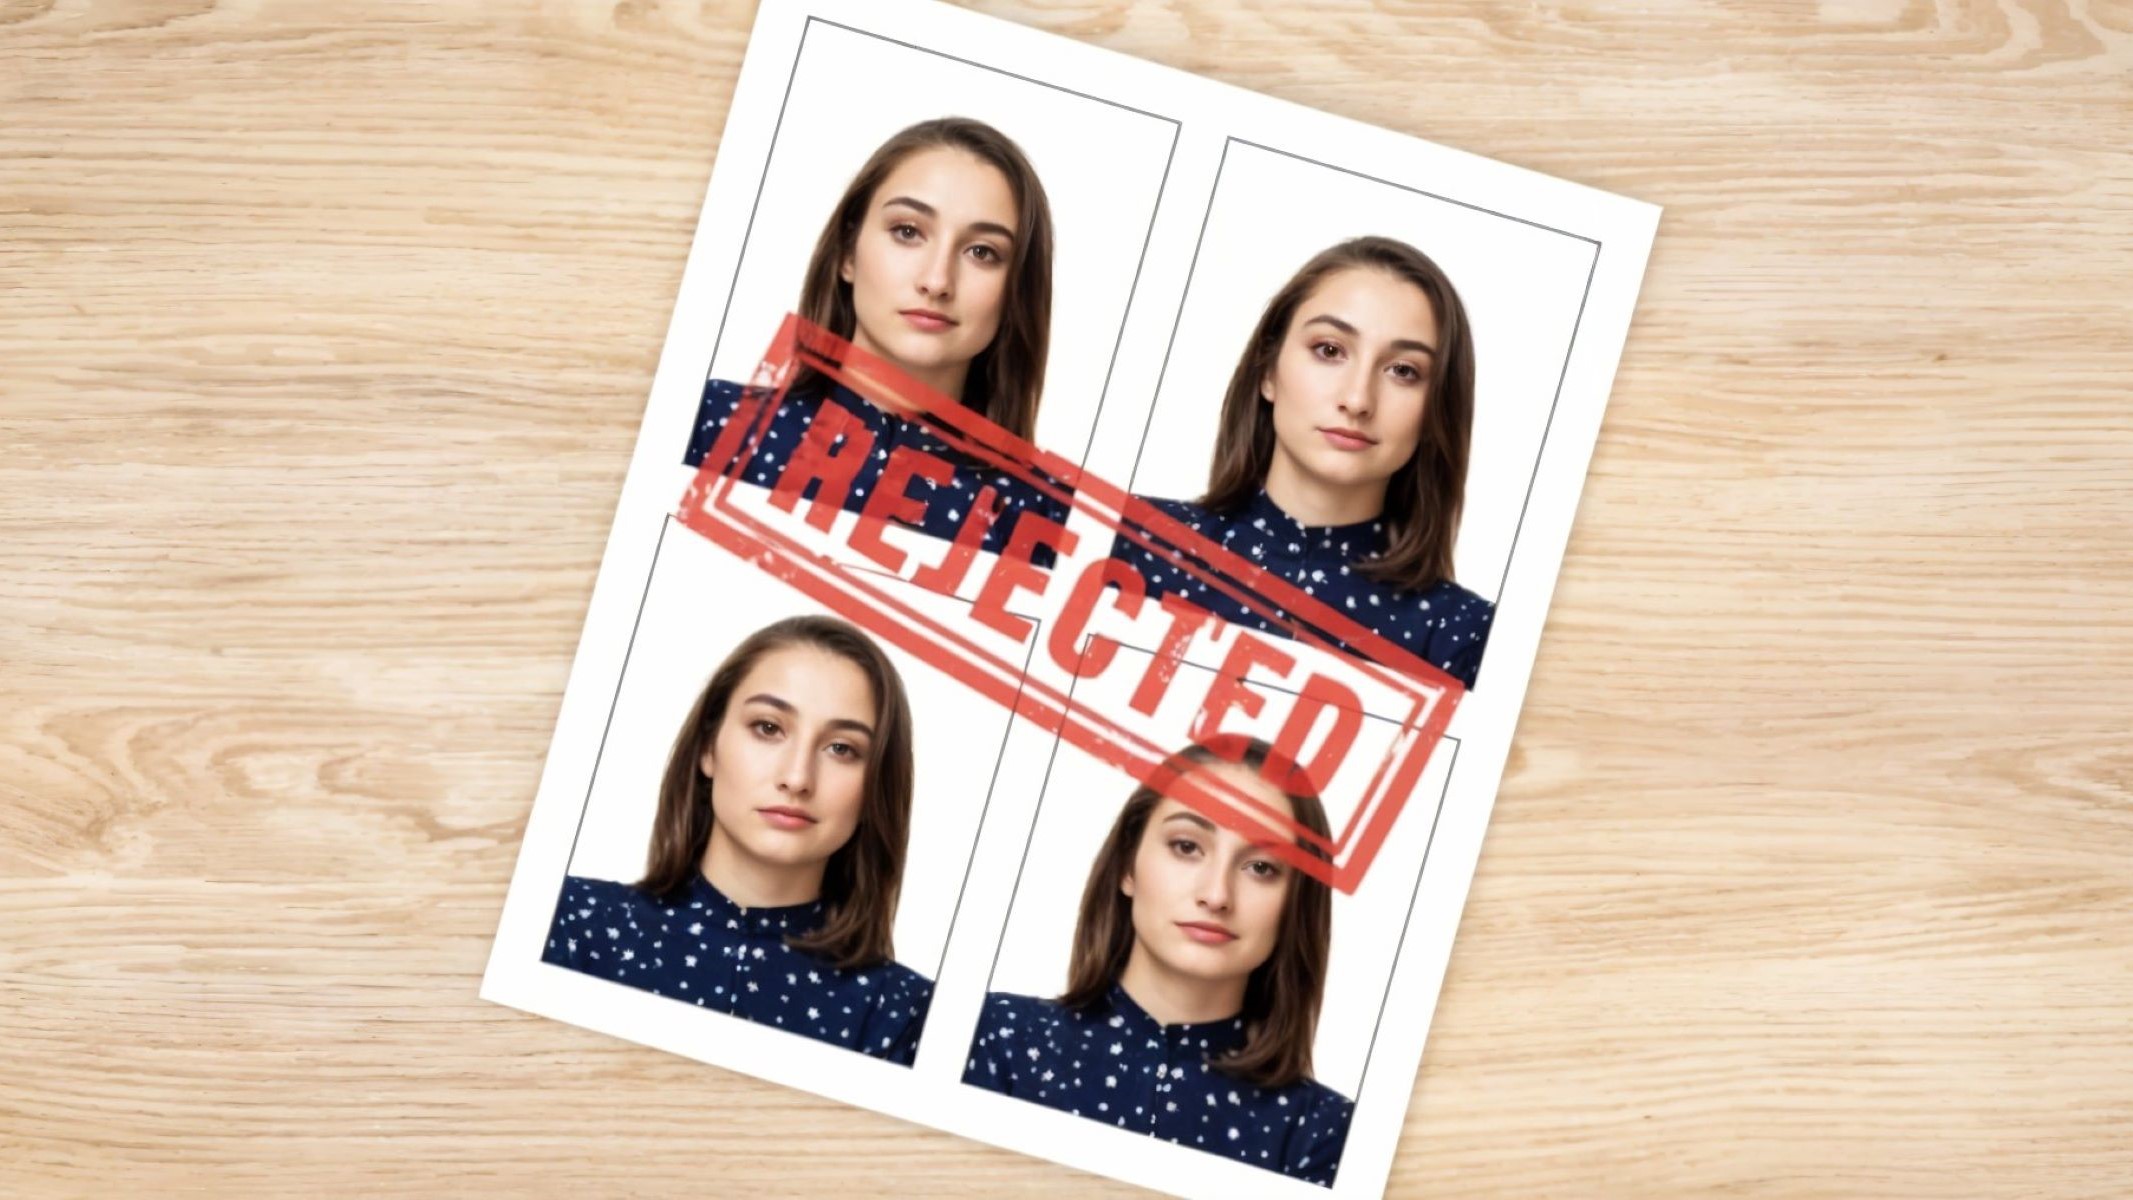
Ever been excited about applying for a passport online, only to hit a wall because your photo got rejected? Frustrating, right? Well, you’re not alone. With more people opting for online passport applications, the demand for perfectly compliant passport photos has skyrocketed. And believe me, these photos aren’t just any snapshots — they have to follow strict rules, or else they’ll get tossed out like last week’s leftovers. In this article, we’ll dive deep into the most common reasons online passport photos get rejected and how you can avoid these pitfalls. Ready? Let’s break it down!
Understanding Passport Photo Requirements
Before diving into why passport photos often get rejected, it’s crucial to understand the foundation — the passport photo requirements themselves. These rules aren’t just arbitrary; they exist for a reason. Think of them as a kind of dress code for your photograph. Just as you wouldn’t wear flip-flops to a formal event, your passport photo needs to meet certain standards to be accepted. The goal is simple: to ensure that your photo clearly and accurately represents you for identification purposes, without any distractions or ambiguities that could complicate official use.
At its core, a passport photo is meant to be a straightforward, honest snapshot of your face, nothing more and nothing less. That’s why there are strict regulations about size, background color, lighting, facial expression, and even what you can wear. These guidelines help create a uniform look that border officials, airlines, and other authorities can rely on instantly. When photos deviate from these norms, it’s like trying to read a book with missing pages — vital information gets lost, and the photo can’t do its job properly.
One of the most important factors is the focus on your face. The photo needs to clearly show your facial features with no shadows, glare, or obstructions like hats or glasses (unless medically necessary). The background should be plain and free from patterns or colors that distract from your face. The lighting must be balanced so that your face is evenly lit without any shadows or bright spots, which can distort your appearance or hide key details.
Finally, the rules about expression and pose might seem a bit strict, but they exist for good reason. A neutral expression — no smiling or frowning — is required because it provides a consistent and natural image of your face. Looking straight at the camera with your head centered ensures the image can be properly aligned and compared in official databases. So, while it might feel a bit stiff or formal, these rules help keep the identification process quick, reliable, and secure for everyone.
Top Reasons for Online Passport Photo Rejection
| Reason | Description | Why It Causes Rejection | Example | Tips to Avoid |
| Incorrect Photo Size and Dimensions | The photo does not meet the exact size or dimension requirements, such as 2×2 inches (51×51 mm). | Automatic systems detect wrong sizes, making the photo unusable. | Uploading a 3×4 cm photo instead of 2×2 inches. | Use official passport photo tools or apps that format size correctly. |
| Poor Lighting and Shadows | Uneven or insufficient lighting creates shadows or dark spots on the face or background. | Shadows hide facial features, confusing identity verification. | Half of the face obscured by shadow in a selfie. | Take photos in natural or soft even light with no direct glare. |
| Distracting or Non-Plain Background | Background is not plain white/off-white or contains patterns, objects, or textures. | Distracts from face, making it harder to isolate the subject. | Patterned wallpaper or colored background. | Use a plain white or off-white wall or backdrop. |
| Facial Expression Not Neutral | Smiling, frowning, or any expression other than a neutral, relaxed face. | Alters facial features, reducing accuracy for ID systems. | Big smile with teeth showing. | Keep a straight face with closed mouth and relaxed eyes. |
| Head Position and Size Issues | Head not centered, tilted, or too large/small in the frame (should cover about 50-70% of photo). | Misalignment affects photo usability for official documents. | Head tilted to the side or too far from the camera. | Position head straight, centered, and sized correctly in the frame. |
| Wearing Glasses or Headgear | Glasses causing glare or reflections; headgear covers face (unless religious or medical reasons). | Glare/reflections or face obstruction causes ID problems. | Sunglasses or hats casting shadows on the face. | Remove glasses and hats unless medically/religiously required; avoid glare. |
Standard Passport Photo Specifications
When it comes to passport photos, following the official specifications is absolutely critical. Each requirement is designed to make sure your photo meets international standards, so your identity can be verified quickly and accurately. Here’s a detailed breakdown of what a proper passport photo should include:
- Size and Dimensions: The photo must typically measure exactly 2 inches by 2 inches (51mm by 51mm). This precise size ensures it fits correctly in official documents and can be scanned properly by various systems. Any variation, even by a few millimeters, can cause your photo to be rejected.
- Background: The background needs to be plain, usually white or off-white, with no patterns, shadows, or textures. This helps your face stand out clearly and avoids any confusion caused by busy or dark backgrounds. Even subtle changes in color or visible objects in the background can be flagged.
- Face Position: Your head must be centered within the frame, facing straight forward. Your entire face, from the bottom of your chin to the top of your head (including hair), should be visible and fit within specific size proportions of the photo. The photo should not crop any part of your head or chin.
- Facial Expression: The expression should be neutral. This means no smiling, no frowning, and no exaggerated expressions. Your mouth should be closed, and your eyes open. A neutral expression helps maintain consistency in facial recognition systems and makes it easier for officials to identify you.
- Lighting: Lighting has to be even and balanced to avoid shadows on your face or in the background. There should be no glare, reflections, or bright spots that distort your features. Proper lighting reveals natural skin tones and details without harsh contrasts.
- Attire: You should wear everyday clothing. Uniforms are generally not allowed, except for religious attire that is worn daily. Clothing should contrast enough with the background to clearly outline your face and shoulders. Avoid overly bright or reflective clothing.
- Glasses: Most countries do not allow glasses in passport photos anymore due to glare and reflections obscuring the eyes. Exceptions are made only for medical reasons, and in such cases, a signed medical statement may be required. If glasses are worn, make sure there is no glare and the eyes are fully visible.
- Headgear: Hats, caps, and other head coverings are not permitted unless worn for religious or medical reasons. Even then, the head covering must not hide any part of the face or cast shadows.
- Photo Quality: The photo must be sharp and clear, with no blurriness or pixelation. It should be printed on high-quality photo paper or, if digital, meet specific resolution requirements to ensure clarity.
- Color: Passport photos must be in color, not black and white or sepia tones. The colors should look natural without filters or heavy editing.
How to Avoid These Common Mistakes
Avoiding common passport photo mistakes starts with knowing where to turn for help. One of the simplest ways to ensure your photo meets all the necessary criteria is by relying on professional passport photo services. These experts understand the exact requirements and have the experience to produce compliant photos every time. They often offer guarantees that your photo will be accepted, saving you from the hassle of resubmissions and delays. This can be especially helpful if you’re unsure about the technical specifications or worried about getting the lighting and background just right.
Lighting plays a huge role in how your passport photo turns out. Natural light is usually the best choice because it evenly illuminates your face without causing harsh shadows or glare. Taking your photo near a window or using soft, diffused lighting can make all the difference. It’s important to avoid direct sunlight or overly bright artificial lights, which can create unflattering shadows or bright spots that hide important facial features. With the right lighting, your face will appear clear and true to life, which is exactly what passport officials want to see.
Another critical step is to carefully follow the government guidelines for passport photos, which can vary slightly from country to country. It’s easy to assume all passport photos are the same, but small differences in size, background color, or allowable accessories can lead to rejection. Always consult your country’s official passport website before taking your photo to understand the exact specifications. This diligence helps prevent common pitfalls and ensures your photo will pass muster on the first try.
Finally, technology can be a great ally in getting your passport photo right. Several smartphone apps and online tools now provide step-by-step guidance for taking and formatting passport photos according to official standards. These apps often include built-in checklists and instant feedback on photo quality, allowing you to correct mistakes before submission. Taking advantage of these resources can boost your confidence that your photo meets all necessary requirements, dramatically reducing the risk of rejection and saving you time and frustration.
What Happens if Your Photo Gets Rejected?
| Topic | Explanation | Consequences | Common Mistakes to Avoid | Tips for a Successful Resubmission |
| Photo Rejection Impact | Having your passport photo rejected is frustrating but not the end of the process. | It can delay your passport application by days or weeks. | Submitting photos without understanding the rejection reason. | Carefully review the rejection reason before taking a new photo. |
| Resubmission Process | After receiving a rejection, you need to fix the photo’s issues and upload a corrected version. | Resubmission is usually done through the same online portal. | Using the same rejected photo again without changes. | Upload a new, compliant photo and keep a copy of your old submission. |
| Reasons for Rejection Review | Knowing exactly why your photo was rejected helps avoid repeating the mistake. | Without review, repeated rejections can cause major delays. | Rushing the retake without analyzing feedback from the system. | Take time to analyze rejection details before proceeding. |
| Common Pitfalls When Retaking | Mistakes such as poor lighting, incorrect size, or distracting backgrounds can cause rejections again. | Multiple rejections increase processing time and frustration. | Not changing the environment or camera settings after failure. | Use different lighting or background and check specs carefully. |
| Documentation and Backup | Keeping copies of both rejected and new photos helps track changes and supports appeals if needed. | Proper documentation can speed up the process if issues arise. | Losing track of previous submissions or changes made. | Save all versions and notes related to your photo submissions. |
Passport Photo Rejection Checklist
Before you submit your passport photo online, it’s smart to double-check that it meets all the necessary requirements. Use this checklist to verify your photo yourself and avoid common rejection reasons. Each item here is crucial for ensuring your photo will be accepted quickly and without hassle.
- Size: The photo must be exactly 2×2 inches (51×51 mm). Use a ruler or a trusted digital tool to measure and make sure your photo fits these precise dimensions.
- Background: Make sure the background is completely plain and white or off-white. There should be no patterns, textures, shadows, or objects visible in the background that could distract from your face.
- Face Position: Your face needs to be centered in the frame and facing directly forward. Avoid any tilting of the head or looking sideways. Both ears should be visible if possible, and your entire head—from the bottom of your chin to the top of your hair—should fit comfortably inside the photo.
- Facial Expression: Maintain a neutral expression with your mouth closed. No smiling, frowning, or any exaggerated expressions. Your eyes should be open and looking straight at the camera.
- Glasses and Headgear: Remove glasses unless you have a medical reason and can provide documentation. Headgear is generally not allowed except for religious purposes, but it must not cover any part of your face or cast shadows.
- Image Quality: The photo should be clear and sharp, with no blurriness or pixelation. Use a high-resolution camera and avoid shaky or out-of-focus shots.
- Editing and Filters: Your photo must be natural and unaltered. Avoid any editing, retouching, or use of filters that change your appearance. The goal is a true representation of how you look.
- File Format: When uploading digitally, ensure the file is in an accepted format such as JPEG or PNG. The file size should also meet the requirements specified by the passport authority, neither too large nor too small.